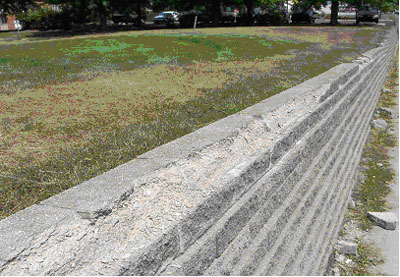
Corners are
almost always more time consuming, typically cost more money and are generally
more difficult to build. We always
recommend incorporating a radius whenever possible, but when you must install a
corner, here are a few general recommendations to follow.
Inside corners are easily constructed using standard Allan
Block units. By removing part of the lip with a chisel or saw, the blocks can
be overlapped for a strong interlock. If your retaining wall needs reinforcement,
follow the instructions for adding grid to corners.

- Using your saw or chisel, remove the raised
lip from one block, and 1/3 from the left side of another. Set them in
place at the beginning of the base course.
- Locate the adjoining retaining wall so that
the raised lip on the modified block is lined up with the raised lips on
the opposite retaining wall. Finish installing the entire base course in
both directions.
- Modify two more blocks, this time remove the
raised lip from one block, and the right third from another. Use these
blocks to start the second course.
- Continue the process to the top of the retaining wall, alternating as you go.


Outside corners take more time and skill, but AB Corner Blocks are all you
need to make an outside corner. Always build your retaining walls by starting
at the corners and working out. AB Corner Blocks are manufactured with a 12°
(Ref) setback. With some minor adjustments, the blocks can work with any
setback. See AB Tech Sheet #298 (Using the One Piece AB Corner Block) for more details.

- Set the first corner block in place and
install the two perpendicular base courses. Level, backfill and compact.
- Place an alternating corner block on the
second course and set the entire second course of block in both
directions. Level, backfill and compact again.
- Repeat as often as needed to the top of the
retaining wall.
When you are done with the inside
and/or outside corner, place your caps on:
- Cut caps at 45 degree angles to complete the inside corner and give the retaining wall a custom finished look.